Here is my little yummy creation for the day.
I made some pancake bites with mini chocolate chips in them. Only 6 ingredients, Krusteaz pancake mix, milk, eggs, avocado oil, mini chocolate chips and sugar in the raw. You know me, I didn't measure, so these are estimates.
Add 4 cups pancake mix, 4 eggs, 3/4 cup milk and 1/3 cup oil to a mixing bowl. (You could use water instead of milk and any cooking oil will work.) Mix until the chunks are broken up, but not gone. You want it to be a little thicker than pancake batter, about as thick as muffins. Then add one bag of mini chocolate chips and stir. Try not to over mix them, they will get kind of tough if you do. Spoon into a well greased mini muffin pan, I used buttery baking spray and my small ice cream scoop. Sprinkle some sugar in the raw or sugar crystals on the tops of each one, for an added little bit of sweetness. Bake at 350 degrees for 8-10 minutes on the second from the top rack of you oven. You could use a cupcake pan, just increase your bake time to about 15 minutes or so and lower the rack to the middle of the oven.
I think these are yummy and make for a quick breakfast or snack. Happy Baking!!
I will be honest with you, I am not a good blogger. I decided to start this blog to share the things that I love to do, with you. I also want to make a little money selling them. So, if you are the type of person who sees something and says, "I can make that!", I will try to give instructions for the items I post. If you are the type of person that says, "Where can I get one of those?!", I will have several items for sale. I hope the hobbies that make me happy can make you happy too..
Search This Blog
Showing posts with label easy. Show all posts
Thursday, March 20, 2014
Mini Chocolate Chip Pancake Bites
Monday, February 24, 2014
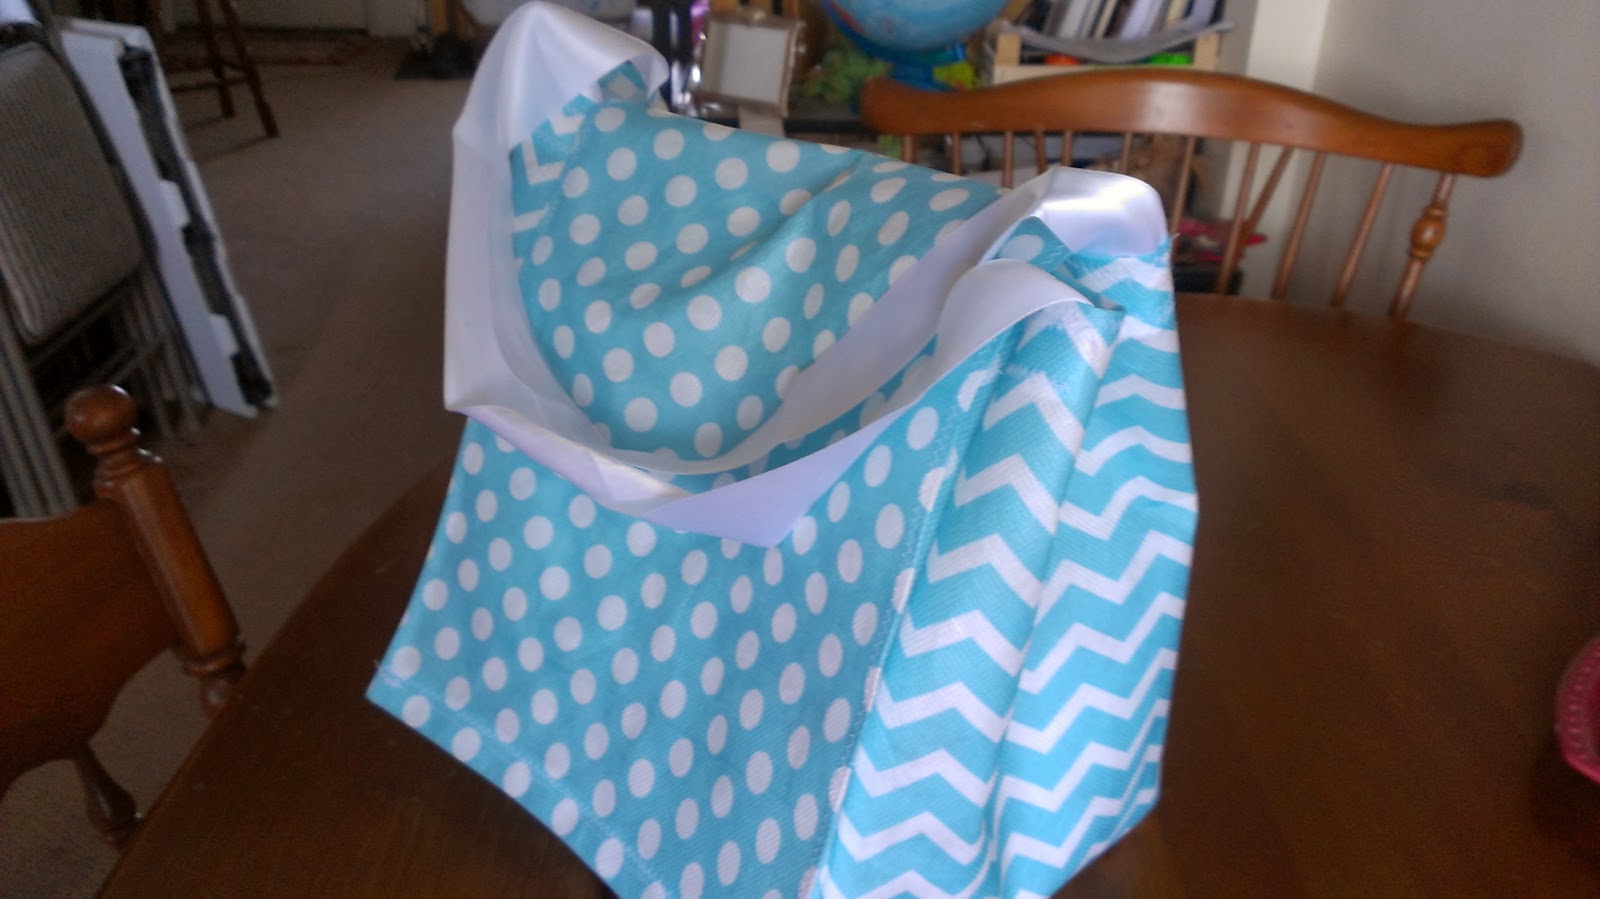
My New Lunch Bag
I bought some of this very cute reusable bag material that we carry at JoAnn Fabric and Crafts. I have been eyeballing it for some time now and then they got some more colors in, so I had to get it. I love it, don't you!?
I knew I wanted to make some shopping bags or something with it. The lunch bag that I was taking to work was getting pretty ragged, so I decided to make a new one. Understand that this was the first one and I really was not sure how it was going to turn out. I had an idea in my head and hoped it would come out in the finished product. I mixed the polka-dot with the chevron to give it more character and break up the pattern a bit. I also used some ribbon for the handles, mainly because I had to get to work and was out of time. Next time I will use the bag material, it will probably last longer.
I used some cardboard pieces from paper that I had bought when I was selling Stampin' Up! The cardboard is perfect for cutting out patterns or stabilizing things. I also used it for the cardboard in the bottom, so that it holds it's shape better. I love recycling, up-cycling and using things for purposes other than their intended ones. Sometimes I feel like a hoarder, but not as bad as the ones on television. But you know, as soon as you throw it out, you are going to need it.
It's a little bigger than I imagined, but I think it works well. I covered the cardboard bottom with some fabric that is in our utility section, next to the bag material. It is used for covering the bottom of a chair or couch, under the cushions. It's the black thin fabric that cats like to shred and always gets ripped when you move.
I am totally going to make more bags and show you how, step by step. I just need to practice a little more. Until next time, keep crafting and doing what makes you happy. I know I will.
Labels:
cardboard,
chevron,
easy,
lunch bag,
polka dots,
reusable bags,
ribbon,
sewing
Subscribe to:
Posts (Atom)