Search This Blog

Monday, February 24, 2014

My New Lunch Bag

    I bought some of this very cute reusable bag material that we carry at JoAnn Fabric and Crafts.  I have been eyeballing it for some time now and then they got some more colors in, so I had to get it.  I love it, don't you!?


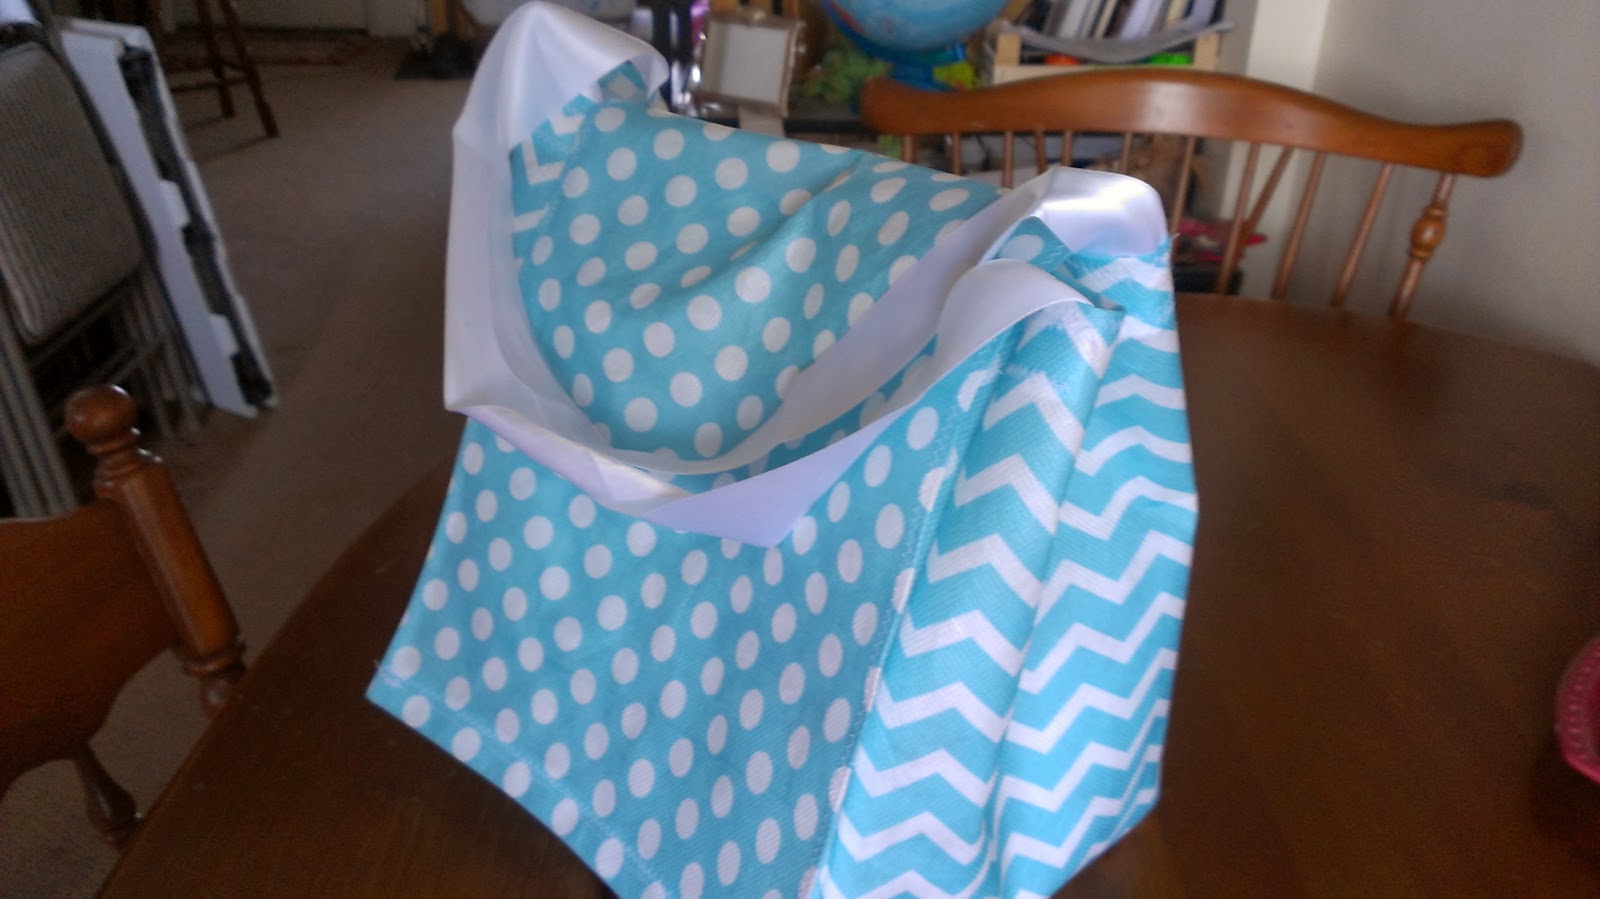
   I knew I wanted to make some shopping bags or something with it.  The lunch bag that I was taking to work was getting pretty ragged, so I decided to make a new one.  Understand that this was the first one and I really was not sure how it was going to turn out.  I had an idea in my head and hoped it would come out in the finished product.  I mixed the polka-dot with the chevron to give it more character and break up the pattern a bit.  I also used some ribbon for the handles, mainly because I had to get to work and was out of time.  Next time I will use the bag material, it will probably last longer.


   I used some cardboard pieces from paper that I had bought when I was selling Stampin' Up!  The cardboard is perfect for cutting out patterns or stabilizing things.  I also used it for the cardboard in the bottom, so that it holds it's shape better.  I love recycling, up-cycling and using things for purposes other than their intended ones.  Sometimes I feel like a hoarder, but not as bad as the ones on television.  But you know, as soon as you throw it out, you are going to need it.


   It's a little bigger than I imagined, but I think it works well.  I covered the cardboard bottom with some fabric that is in our utility section, next to the bag material.  It is used for covering the bottom of a chair or couch, under the cushions. It's the black thin fabric that cats like to shred and always gets ripped when you move.


I am totally going to make more bags and show you how, step by step.  I just need to practice a little more.  Until next time, keep crafting and doing what makes you happy.  I know I will.


Friday, February 14, 2014

Alex's Creeper Valentine Box

We made this out of boxes and duck tape.  We added buttons inside the feet to weigh it down.  I think it's pretty good.

Tuesday, February 11, 2014

The First Apron I Designed

This is a picture of the first apron that I designed on my own.  I just cut the fabric, laid it out and started sewing.  It was fun, because I had the idea in my head and just went with it.  I ended up selling it at a craft show and making a matching chef's hat for the little girl that it was going to.  I did not have a pattern for that either.

My New Work Apron

This is my new apron that I made for work.  We are able to ware our own aprons, if they are made from products we purchased from work.  I loved my old one, but it was starting to get tattered and stained.  I took what I knew I liked from it and integrated what I knew I needed into my new one.  I fell in love with this lady bug patterned fabric, that I found in our remnant bin for half price.  I knew I had to do something with it.  I decided it was perfect for a fresh new Spring look.  So I found some coordinating fabrics and a pattern that had great pockets and a nice top.  I added some ruffles, a pretty flower and a super cute lady bug and there you have it.  I love it!!!  What do you think?
This is the pattern that I used.  The one on the bottom.  As you can see, I changed it a little.

I simply cut out the top half and pockets, then added my ruffle to the bottom.  The pockets were originally one fabric, but I sewed my fabric selections together the same length as their pockets.  I was using thinner fabric, so I lined it on the under side with white cotton fabric.  I added a yo-yo style flower, layered with a smaller one and then a button, sewn on.  I drew an enlarged version of the lady bug and ironed it on with some double sided fusible webbing.  Add some fancy zig-zag and straight stitches and done. 

Does anybody know what these are for?


If you guessed making bias tape, you were right.  I used these for the bias tape on my apron and trim on the pockets.  I think it is pretty easy to us them, once you get the fabric cut unto strips and threaded through these contraptions, you just iron it into strips and sew them on.  Cheaper than buying 3 packages of pre-made double fold bias tape and you can customize your colors or patterns.  Let me know if you have any questions and I will try to answer them or do a step by step tutorial

My Old Work Apron

This was the old work apron.  I just thought I would show you what it looked like so you could compare it to the new one.  I now use this one at home and still love it!


Pattern that I based the reversible aprons on.

This is the pattern that I used for the aprons that my boys were modeling.  I just cut out one pattern for each fabric and put them together.  If you would like to know how to do that, let me know and I will post a tutorial.  I am always changing patterns, especially for aprons, because I can never find one that is perfect.


Fun flip book video Google did.


Oatmeal Chocolate Chip Cookies

Chocolate Oatmeal Cookies
 This is from the Nestle Best-Loved Cookies recipe book.  I use it all the time.  There are lots of great recipes in it.  I altered this one a little.  I used sugar in the raw instead of regular and brown sugar.  I also added white and semi-sweet chocolate chips, with the milk chocolate chips.  Mmmmm...


Reversible Team Aprons and Hot Pads

These are my boys, E.J. and Alex.
 They are modeling the reversible aprons and hot pads that I made for a school auction.

Getting Started

I have been playing with my google profile and created a page for Hollie's Happy Hobbies.  Now I am trying to figure out how to post an album and not have to recreate it each time I switch from the page to my account or to the blog.  I am so not tech savvy.  So please forgive me if it gets mixed up or jumbled around.